Home > News > Product FAQ > Installation Tips for Fixed Anti-Drone Jamming Systems: Best Practices for Optimal Performance
Installing a fixed anti-drone jamming system is a complex task that goes far simply mounting a device on a rooftop. These systems are critical for protecting sensitive sites like airports, prisons, government facilities, and critical infrastructure from unauthorized drone intrusions. A poorly installed system can result in blind spots, reduced jamming effectiveness, or even legal complications due to signal interference.
To ensure your counter-drone system operates at peak performance, here are essential installation tips and best practices to consider.
Before lifting a single piece of equipment, a comprehensive site survey is non-negotiable.
Analyze the RF Environment: Use a spectrum analyzer to map the existing radio frequency (RF) environment. Identify legitimate signals (Wi-Fi, cellular, broadcast TV) that must be protected from jamming interference.
Identify Threat Vectors: Determine the most likely approach paths for drones. Are they coming from a nearby road, a forest line, or over a specific perimeter? This will inform where to focus your jamming energy.
Check for Physical Obstructions: Buildings, hills, water towers, and dense trees can block or reflect jamming signals. A site survey helps you identify these obstacles before they become problems.
Antennas are the voice of your jammer. Where you put them determines how well the system speaks.
Height is Key: Mount antennas as high as practical to achieve a clear line of sight. Rooftops, dedicated masts, or towers are ideal. Elevation minimizes ground clutter and extends the effective jamming range.
Maintain a Clear Fresnel Zone: Ensure there are no obstructions in the immediate path of the antenna’s radiation pattern. Even a large metal HVAC unit next to an antenna can distort the signal.
Consider Directional vs. Omnidirectional: For perimeter protection, multiple directional antennas (panels) aimed outward are often more effective than a single omnidirectional antenna. This contains the jamming signal within the protected zone and reduces spillover into public areas.
The cable connecting the jamming module to the antenna is a potential weak point.
Minimize Cable Length: RF signal loss over cable length (insertion loss) is inevitable. Keep cable runs as short as possible. If a long run is unavoidable, use high-quality, low-loss coaxial cable (like LMR-400 or equivalent) to mitigate signal degradation.
Weatherproof All Connections: Outdoor connections must be thoroughly sealed with weatherproofing tape and mastic pads to prevent water ingress, which can destroy both the cable and the jamming equipment.
Fixed systems often run 24/7, generating significant heat.
Ensure Adequate Ventilation: Jamming modules, especially high-power units, produce heat. Install them in well-ventilated enclosures or climate-controlled indoor rooms. Overheating leads to component failure and reduced jamming efficiency.
Stable Power Supply: These systems draw substantial power. Ensure the installation site has a dedicated, stable power circuit. Incorporate Uninterruptible Power Supply (UPS) systems to keep the defense active during power outages.
Jamming radio signals is heavily regulated in most countries.
Coordinate with Spectrum Regulators: In many jurisdictions (like the FCC in the US or OFCOM in the UK), operating a jammer is illegal for civilians. However, government and military entities often operate under specific licenses.
Mitigate Spillover: During installation, carefully tune the power levels to ensure the jamming signal covers your protected area but does not unnecessarily interfere with neighboring businesses or public communication networks.
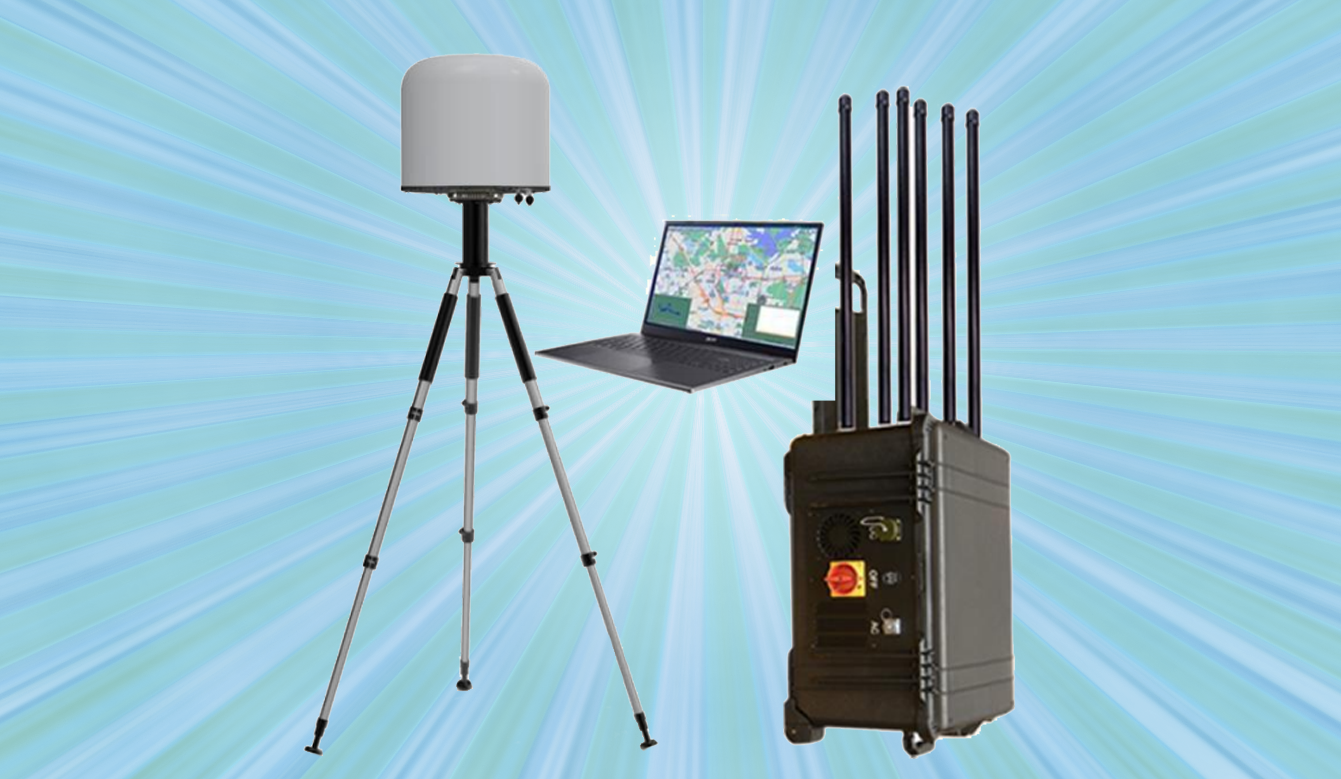
A jammer should rarely be a standalone unit. For a fixed installation, integration is vital.
Triggered Jamming: Connect the jamming system to radar, RF detectors, or optical sensors. This allows the system to remain silent (stealth mode) until a drone is confirmed, reducing electromagnetic pollution.
Handover and C2: Ensure the installation includes network cabling (Ethernet/Fiber) to connect the jammer to the central Command and Control (C2) center for remote operation and status monitoring.
Once installed, the job isn’t done.
Walk the Perimeter: Use a spectrum analyzer or a handheld receiver to walk the perimeter and confirm the jamming signal is present and strong where it should be.
Test with Authorized Drones: If regulations permit (in a controlled, shielded environment), test the system against the types of drones you expect to encounter to verify its effectiveness.
Create an Installation Log: Document every component, cable path, antenna orientation, and power setting. This log is invaluable for future troubleshooting and system upgrades.
A fixed anti-drone jamming system is a powerful tool, but its effectiveness is directly tied to the quality of its installation. By focusing on site-specific planning, meticulous antenna placement, and regulatory compliance, security managers can ensure their investment provides a robust and reliable shield against the evolving threat of rogue drones.
86-13920737097
AddBuilding 2, Honggao Industrial Park, Bao’an District, Shenzhen, China.
E-mailjackyjingtj@gmail.com
Copyright @ 2026 BNT Jammer
Copyright @ 2026 BNT Jammer
Copyright @ 2026 BNT Jammer